Homey Energy Dongle on HA
657 words, est. 3 minI recently got a Homey Energy Dongle, which is a tiny device that can be used to feed Home Assistant with data from your smart energy meter as long as it has a HAN-port. I wanted to connect it to Home Assistant to get the overall energy consumption data.
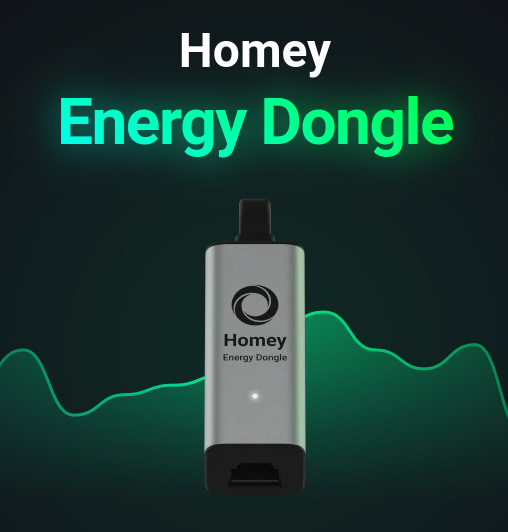
I got the meter and (again…) just assumed that it would be plug-n-play compatible with Home Assistant, however, it was not. Emile Nijssen, the founder of Athom who makes Homey, wrote a quick guide on how to flash it with ESPHome to get it to send data to Home Assistant.
Prerequisites
- ESPHome installed on your Home Assistant instance, see ESPHome documentation.
- A USB-C data-cable to connect the dongle to your computer.
- A Chrome based browser for flashing the dongle.
- A sim card ejector pin, paperclip or similar.
Initial flashing
- While the dongle is powered off, insert a sim card ejector pin into the small hole next to the USB-C port on the dongle. While pressing, insert the USB-C cable. This will put the dongle into flashing mode. Note that the LED will not light up when in flashing mode.
- Open ESPHome in Home Assistant.
- Click on “New Device” in the lower right corner.
- Give it a suitable name and select “ESP32-C6” as the device type.
- Do the initial flashing.
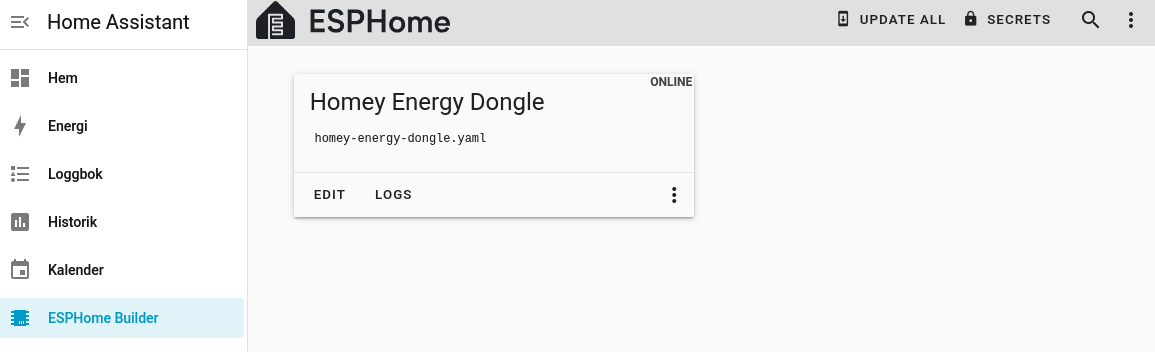
- It should now show up in the list of devices. Click on “Edit” next to the device you just created.
ESPHome Configuration
Paste the following code into the editor, replacing the WiFi SSID and password with your own. You can also change the OTA password.
esphome:
  name: homey-energy-dongle
  friendly_name: Homey Energy Dongle
  on_boot:
    - priority: -100.0
      then:
        - output.turn_on: p1_input_enable
        - light.turn_on:
            id: led
            red: 0%
            green: 0%
            blue: 100%

esp32:
  board: esp32-c6-devkitc-1
  flash_size: 4MB
  variant: esp32c6
  framework:
    type: esp-idf
    sdkconfig_options:
      CONFIG_ESPTOOLPY_FLASHSIZE_4MB: y

ota:
  - platform: esphome
    password: "changeme" # <<< A random password for OTA

wifi:
  ssid: "Your_WiFi_SSID" # <<< Your WiFi SSID
  password: "Your_WiFi_Password" # <<< Your WiFi Password (use secrets!)

external_components:
  - source: github://oxan/esphome-stream-server

stream_server:
  - uart_id: p1_input
    port: 9080
    buffer_size: 256

uart:
  - id: p1_input
    rx_buffer_size: 256
    rx_pin:
      number: GPIO4
      inverted: true
    baud_rate: 115200
  - id: p1_output
    tx_pin:
      number: GPIO3
      inverted: true
    baud_rate: 115200

output:
  - id: p1_input_enable
    platform: gpio
    pin:
      number: GPIO23
      mode: output

light:
  - id: led
    name: "LED"
    platform: esp32_rmt_led_strip
    rgb_order: GRB
    pin: GPIO2
    num_leds: 1
    chipset: ws2812
Click on “Save” and then “Install” in the upper right corner. Take a note of the IP address that is shown, as you will need it later.
Connecting the dongle to your meter
Note that some companies require you to activate the HAN-port before you can use it.
I assumed the port was activated since it provided power to the dongle, but no data was fed, initially making my think the dongle or ESPHome configuration was faulty.
My provider, Eon, allowed me to activate the port though “My Pages” on their site. Now you could go and connect the dongle to your meter central.
With the dongle connected to the meter, you can now go back to Home Assistant and add the device to your dashboard.
Adding the DSMR Integration
Go to “Settings” -> “Devices & Services” -> “Add Integration” and search for “DSMR Smart Meter”. Select “Network” as connection type and enter the IP address of your dongle. Port should be set to 9080. DSMR version might be tricky to figure out, but in Sweden most are using 5S.
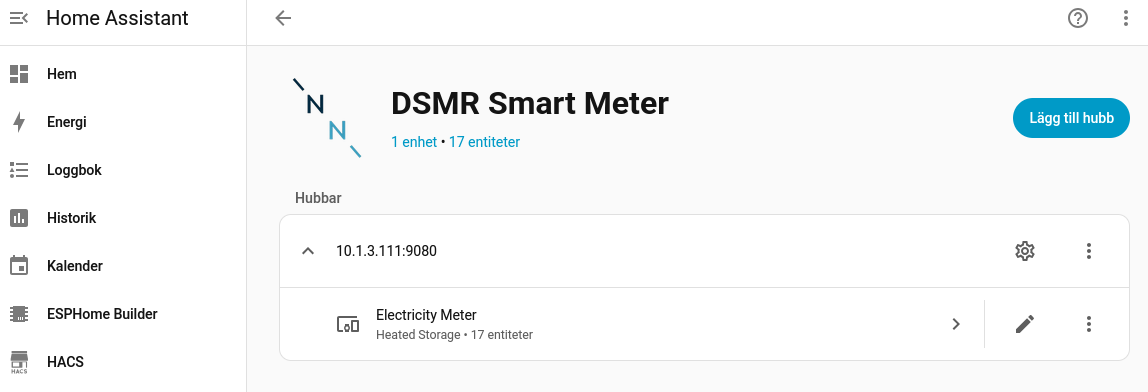
Give it a bit of time to start sending data. After a while, the dongle should show up as a device in the Integration.
Add the device to your energy dashboard by going to “Settings” -> “Dashboards” -> “Energy” and clicking on “Add Consumption Device”. Select the device you just added and click “Save”. Adding a provider for pricing lets you see both the energy consumption and the cost of it.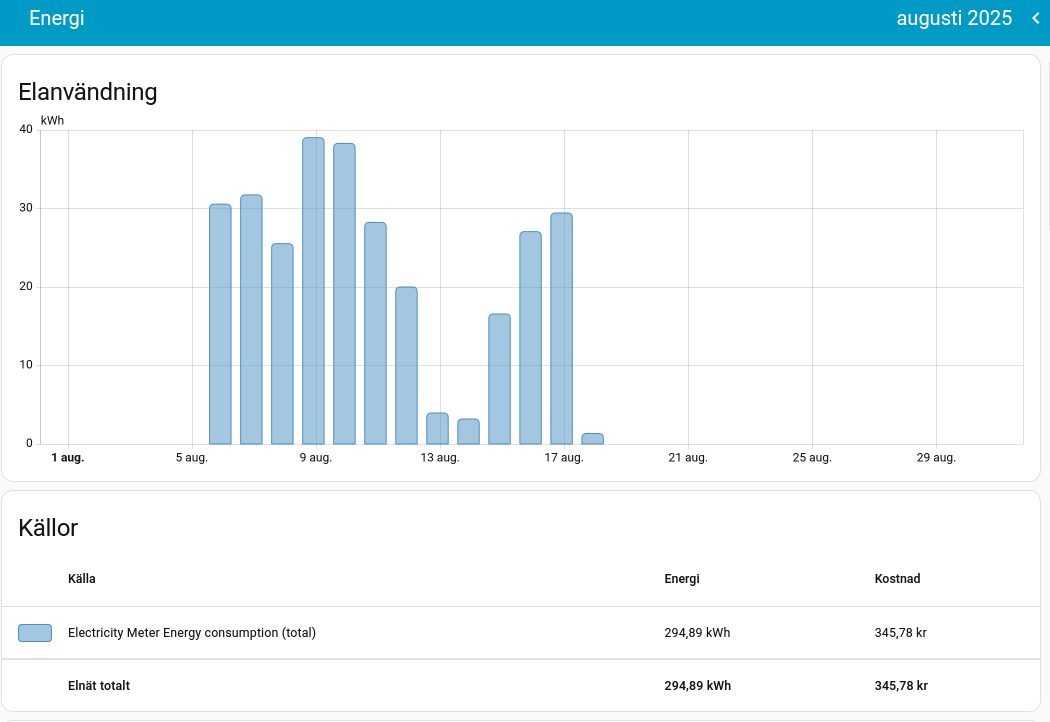
Source: How to: Connecting the Homey Energy Dongle to Home Assistant with ESPHome